
How to Clean Vinyl Siding: A Homeowner’s Step-by-Step Guide
Vinyl siding is the most popular exterior cladding in the United States for good reason: it costs less than wood or fiber cement, it never needs painting, and it shrugs off decades of sun, rain, and snow with minimal fuss. But “low maintenance” is not the same as “no maintenance.” Over time, pollen, dirt, mildew, and the green-black algae that thrives on shaded walls build up in a film that dulls the color and makes a well-kept house look neglected.
The good news is that learning how to clean vinyl siding is a straightforward weekend project you can do with a garden hose, a soft brush, and about $30 worth of supplies. Done once or twice a year, it restores the original color, prevents permanent staining, and lets you spot cracks or loose panels before they turn into water-damage problems behind the wall.
This guide covers the exact tools, cleaning solutions, and techniques pros use — including how to run a pressure washer without denting or cracking the panels, which mistakes to avoid, and how often you really need to wash the outside of your home.
Why Vinyl Siding Gets Dirty (and Why You Should Care)
Vinyl siding attracts grime for reasons that have nothing to do with how tidy your yard is. The three biggest culprits are:
- Airborne dirt and pollen. Spring and summer load the air with dust and pollen that stick to the slightly textured surface of the panels. North-facing and shaded walls hold onto it longest because they stay damp longer.
- Mildew and algae. The green or black streaks you see near the ground or under overhangs are almost always algae (Gloeocapsa magma) or mildew, which feed on moisture and organic matter. They spread fastest on the shaded, cooler sides of a house.
- Insect droppings and tree sap. Spider droppings and aphid residue leave small dark dots that are stubborn once baked on by sun.
Beyond looks, there’s a practical reason to stay on top of it. Algae and mildew trap moisture against the surface, and over many seasons that moisture can encourage the staining to set permanently. A panel that should last 30 to 40 years can end up looking tired in ten if it’s never washed. Regular cleaning is cheap insurance for one of your home’s biggest visible assets.
Supplies You’ll Need to Clean Vinyl Siding
Most of what you need is already in your garage. Round out the list for under $40 at any hardware store:
- Garden hose with an adjustable spray nozzle
- Soft-bristle brush with an extension pole (a car-wash brush works well)
- A 5-gallon bucket
- Liquid dish soap or a dedicated siding cleaner (Wet & Forget, Mold Armor, or Simple Green)
- White vinegar or oxygen bleach (optional, for mildew)
- Pressure washer (optional — see the safety notes below)
- Drop cloths or plastic sheeting to cover shrubs and flower beds
- Safety glasses and work gloves
For most homes, a bucket of soapy water and elbow grease beats an aggressive machine. The gentler your method, the longer the siding keeps its factory finish.
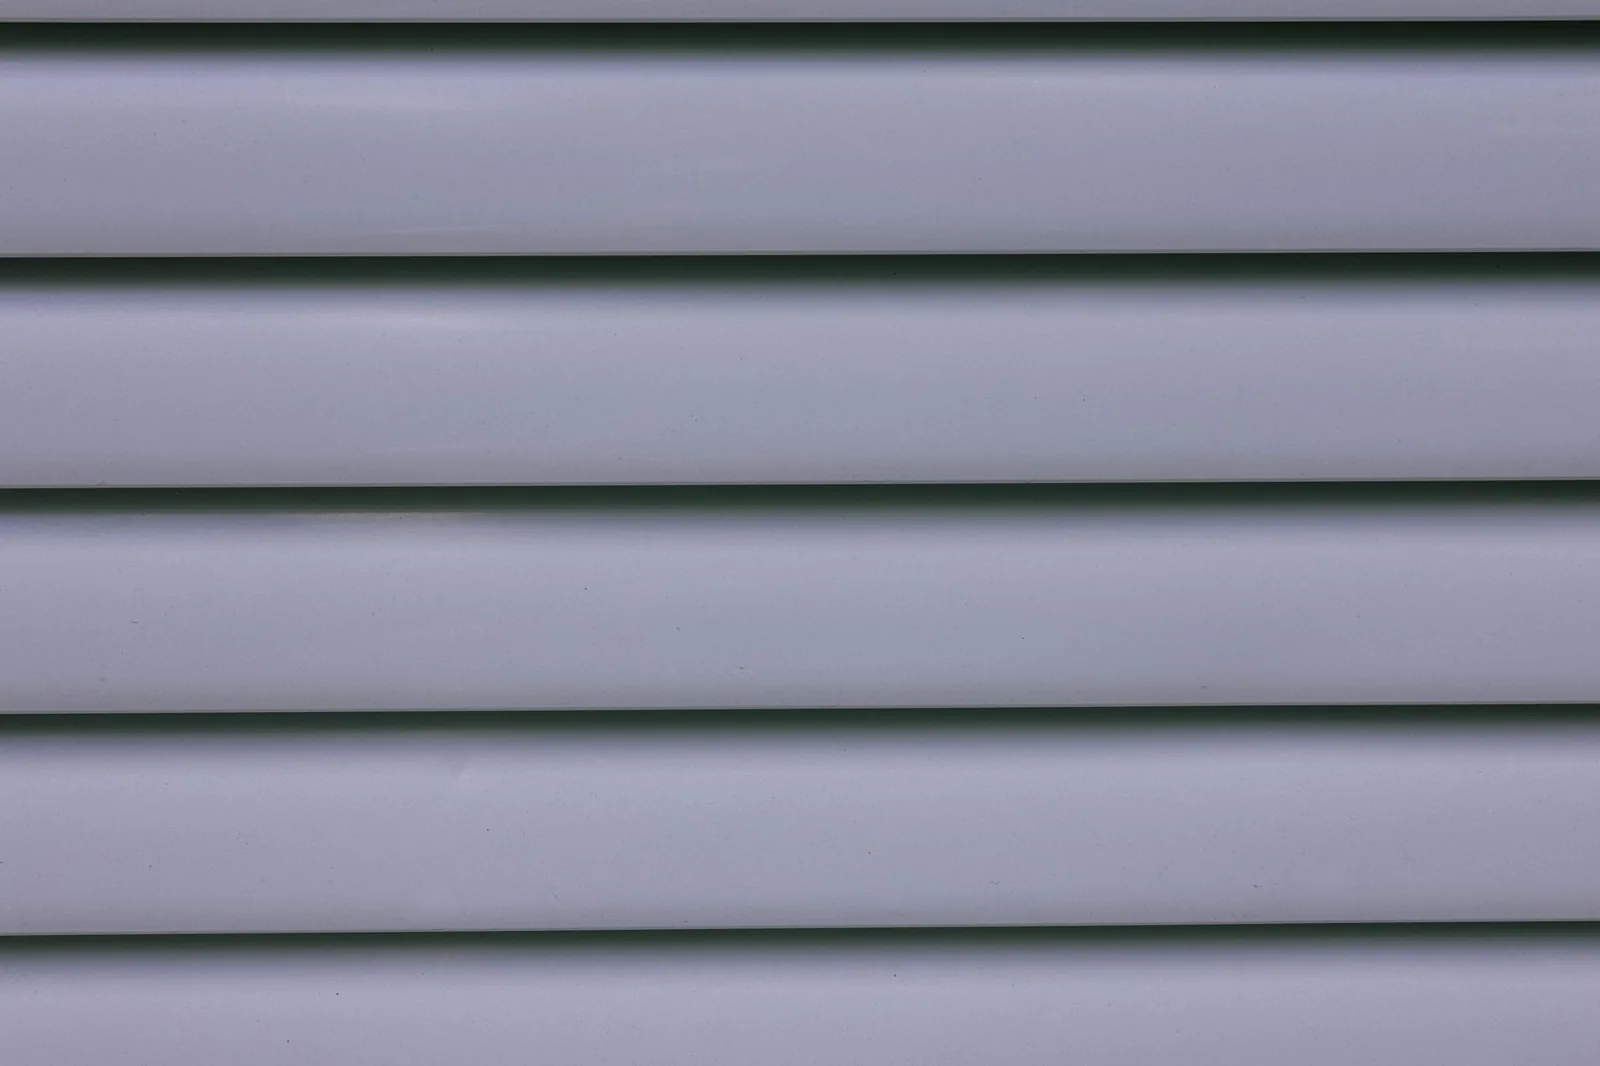
Photo by Patrick via Pexels
How to Clean Vinyl Siding: The Step-by-Step Method
Here’s the full process, from prep to rinse. On an average two-story home, plan for three to five hours.
1. Protect the Surrounding Area
Move planters, patio furniture, and anything portable away from the walls. Cover shrubs, perennials, and electrical outlets with plastic sheeting or drop cloths. If you’re using any cleaning chemical, wet the plants down first so any runoff is diluted before it soaks in.
2. Pre-Rinse with a Garden Hose
Start at the top and work down with plain water. This loosens the surface layer of dust and pollen and softens anything stuck on. Always spray downward and at a slight downward angle — spraying upward can force water behind the panels and into the wall cavity, where it can rot the sheathing or feed mold.
3. Apply Your Cleaning Solution
Fill the bucket with warm water and add a squirt of dish soap (roughly one tablespoon per gallon). Working in sections about ten feet wide, scrub from the bottom up with the soft-bristle brush, then rinse from the top down. The bottom-up scrub prevents dirty, soapy streaks from running down over areas you’ve already cleaned.
For mildew or algae streaks, use a stronger mix: one part white vinegar to three parts water, or oxygen bleach following the label directions. Apply it, let it sit 10 to 15 minutes (but don’t let it dry), then scrub and rinse.
4. Rinse Thoroughly
Go over every section again with the hose until the water runs clear and no soap film remains. Leftover detergent leaves a sticky residue that attracts dirt faster than a clean panel ever would.
5. Tackle Stubborn Spots by Hand
For baked-on sap, bird droppings, or grease, dab the spot with a soft cloth and a little mineral spirits or a paste of baking soda and water. Never use a wire brush, steel wool, or abrasive powder — they scratch the finish permanently and give dirt a place to grip.
6. Let It Dry and Inspect
Once the walls are dry, walk the perimeter and look for cracks, warped panels, or gaps around windows and doors. Finding a loose panel now is the difference between a $10 tube of caulk and a much bigger repair later.
Soft Washing vs. Pressure Washing Vinyl Siding
A pressure washer can cut this job down to an hour, but it’s also the number one way homeowners damage vinyl siding. The wrong setting can dent panels, blast water behind the seams, and void your warranty. Here’s how the two approaches compare:
| Feature | Soft Washing (Hose + Brush) | Pressure Washing |
|---|---|---|
| Risk to panels | Very low | High if used incorrectly |
| Cost | Under $40 | $50–$100 to rent a day |
| Time for a 2-story home | 4–5 hours | 1–2 hours |
| Best for | Routine cleaning, mildew | Heavy grime, whole-house refresh |
| Water intrusion risk | Minimal | Moderate — spray angle matters |
| Skill required | Low | Moderate (PSI, distance, angle) |
If you do use a pressure washer, keep the pressure at 1,500 PSI or below, use a 25- to 40-degree nozzle, hold the wand at least 12 to 18 inches from the wall, and always spray downward at eye level or below. Never aim the stream upward into the bottom edge of a panel — that’s exactly how water gets forced behind the siding and into your walls.
Photo by Jan van der Wolf via Pexels
Homemade Cleaning Solutions That Actually Work
You don’t need to buy a specialty product for most grime. Three DIY mixes cover nearly every situation:
- All-purpose wash: 1 gallon warm water + 1/4 cup liquid dish soap. Safe for routine dirt and pollen on any color of vinyl.
- Mildew and algae remover: 1 part white vinegar + 3 parts water, or 1/2 cup oxygen bleach (sodium percarbonate) per gallon of water. Oxygen bleach is color-safe and won’t kill your landscaping like chlorine bleach can.
- Tough spot cleaner: a paste of baking soda and water, worked in gently with a soft cloth for sap, grease, and insect spots.
What to avoid: chlorine bleach, undiluted, and any solvent like acetone or paint thinner. Chlorine bleach can discolor certain vinyl colors and is corrosive to the metal trim and fasteners around it. If you ever use a bleach product, wet the wall and the surrounding plants first and rinse generously.
How Often Should You Clean Vinyl Siding?
For most homes, a full wash once a year is enough — twice a year if you live in a humid, wooded, or high-pollen region. Aim for:
- Late spring — to remove winter grime and early pollen before the hot months bake it on.
- Early fall — to clear summer algae growth and prep the exterior for wet, cold weather.
Homes near the coast, under heavy tree cover, or on busy roads may need three washes a year to keep the finish bright. You’ll know it’s time when the siding has a dull haze, you can see green or black streaks on shaded walls, or you can smear dirt with a finger after a rain.
Common Mistakes That Damage Vinyl Siding
A surprising number of homeowners do more harm than good with good intentions. Steer clear of these:
- Spraying upward. Forces water behind panels, where it can’t dry and can rot the sheathing.
- Using too much pressure. Anything above roughly 1,500 PSI — or holding the wand too close — can crack and dent the panels.
- Abrasive tools. Wire brushes, steel wool, and scouring powder scratch the finish and invite future staining.
- Letting chemicals dry on the surface. Always rinse before a solution dries, or you’ll leave streaks and residue.
- Mixing bleach with other cleaners. Combining chlorine bleach with ammonia or acid products releases toxic fumes. Read labels and never mix casually.
Frequently Asked Questions
Can I use a pressure washer on vinyl siding?
Yes, but gently. Stay under 1,500 PSI, use a 25- to 40-degree nozzle, keep the wand 12 to 18 inches away, and spray downward only. If in doubt, skip the machine and use a hose and soft brush — it’s slower but completely safe.
What is the best homemade cleaner for vinyl siding?
Warm water with a quarter cup of liquid dish soap handles routine dirt. For mildew and green algae, mix one part white vinegar with three parts water, or use oxygen bleach per the label. Both are safe for plants and won’t damage the finish.
Will cleaning vinyl siding remove mold and mildew streaks?
Yes, especially the green-black algae streaks. Vinegar, oxygen bleach, or a dedicated product like Wet & Forget applied for 10 to 15 minutes before scrubbing removes the growth. For heavy staining you may need a second application.
How much does it cost to have vinyl siding professionally cleaned?
Professional soft washing typically runs $0.15 to $0.35 per square foot, so a 2,000-square-foot exterior lands between $300 and $700. Doing it yourself costs under $50 in supplies and a few hours of your weekend.
Does washing vinyl siding increase home value?
It improves curb appeal, which real-estate agents consistently rank as a top factor in how fast and how high a home sells. A clean, bright exterior signals that the whole house has been cared for — and it costs almost nothing to achieve.
The Bottom Line
Vinyl siding earns its reputation as a low-maintenance material, but it still rewards a little annual attention. A soft brush, a bucket of soapy water, and a garden hose are all most homes need to lift years of grime and restore that factory-fresh color — no special products or professional equipment required. The keys are simple: work bottom-up and rinse top-down, keep any pressure washer under 1,500 PSI, never spray upward, and skip the harsh chemicals that do more harm than good.
If you’re weighing whether to keep washing what you have or upgrade to a new material entirely, take a look at our vinyl siding vs fiber cement comparison to see how the two stack up on cost and durability. And before any bigger project, it’s worth understanding what you’ll spend — our breakdown of house siding cost per square foot lays out realistic numbers for every material.
Set aside one Saturday a year, and your siding will look newer for a decade longer. For a deeper dive on the tools and techniques, the pros at This Old House and Family Handyman both walk through the same method with step-by-step photos worth bookmarking.